

Quick Start Guide
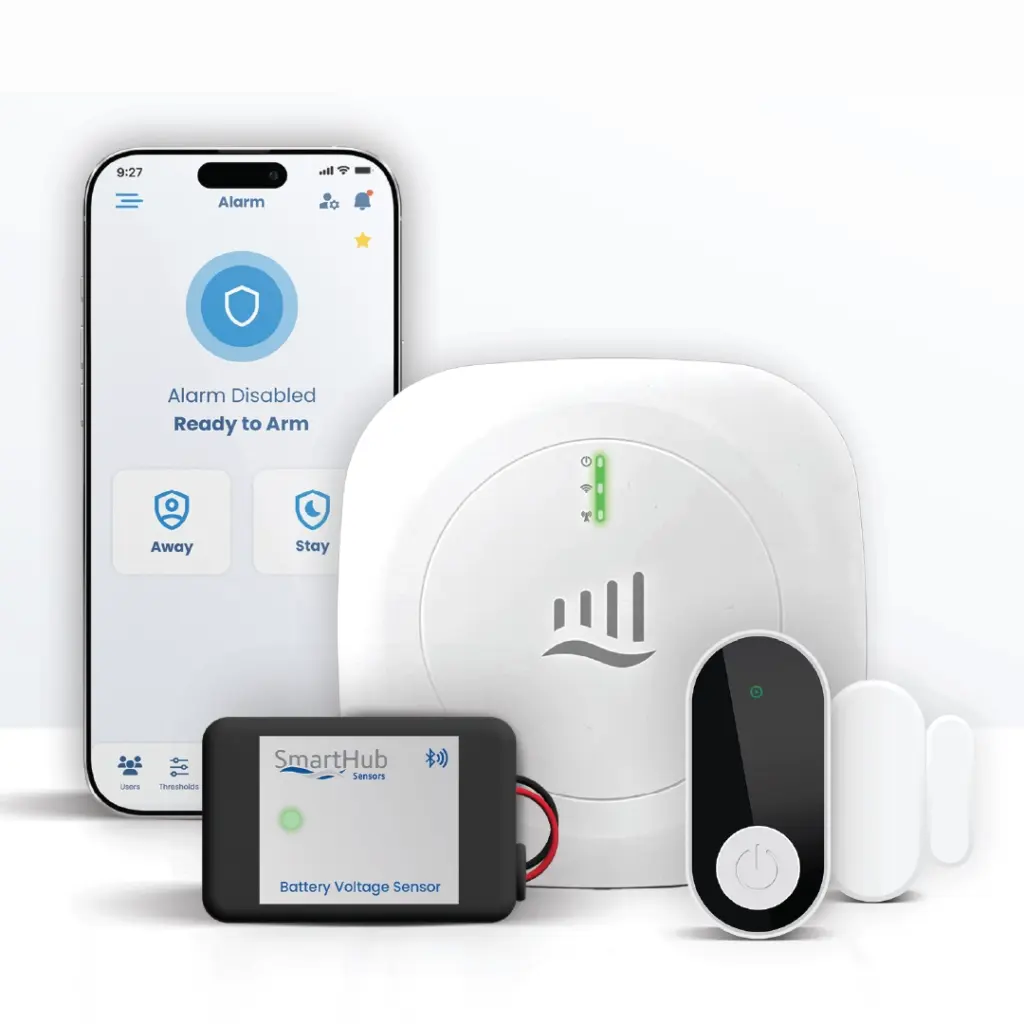
Power your Gateway, set up your account, add your sensors and connect to Wi-Fi. Everything you need to get your SmartHub Sensors RV Alarm & Monitoring Kit up and running.
Getting started
What's in the box
- SmartHub Sensors Gateway
- Temperature & humidity sensors
- Door contact sensors
- Battery monitoring sensors
- 12V DC cigarette lighter plug
- 12V DC wiring power cable
- USB-C cable
- Power adapter
Step 1
Connect power
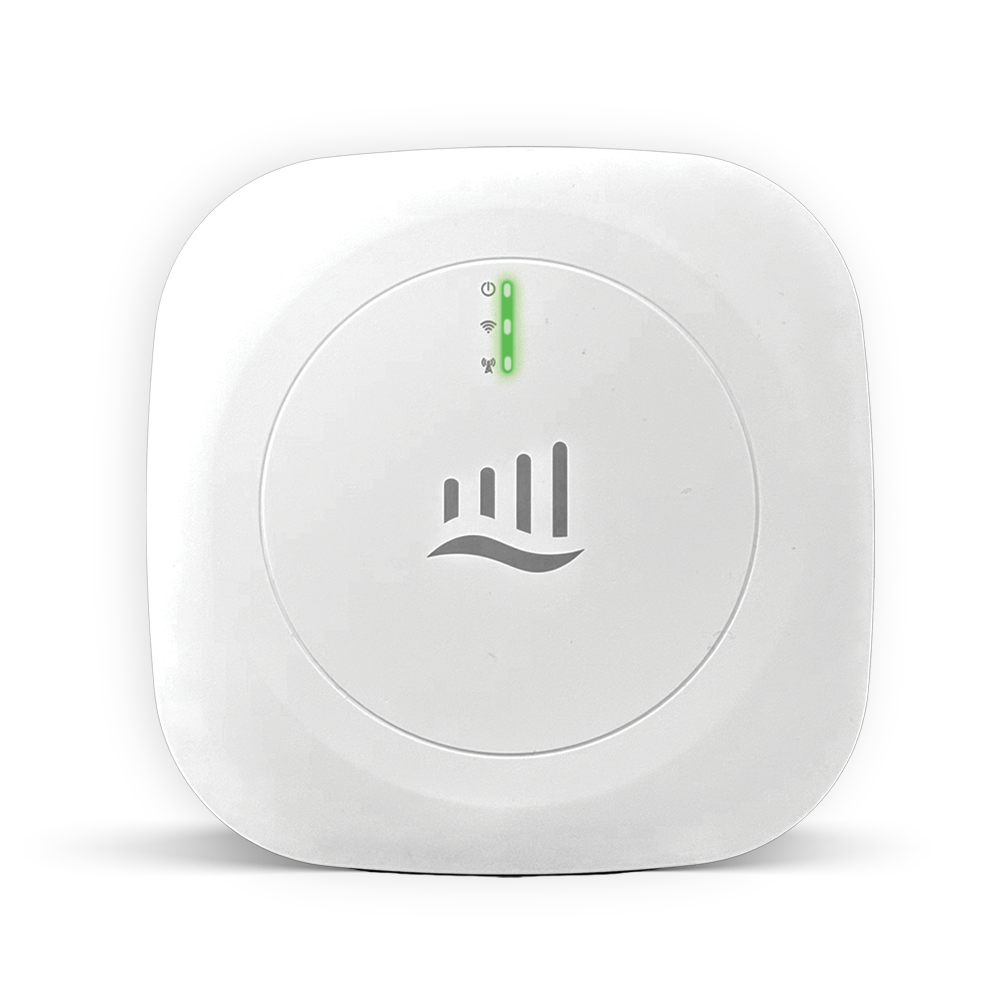
There are three ways to power the Gateway. Each one plugs into the back of the Gateway. Choose the one that fits your RV.
A. Cigarette lighter plug
Connect the plug to the Gateway, then to your RV’s 12V DC cigarette lighter port.
- Reads chassis battery voltage
Best for: the quickest setup if your RV has a lighter port.
B. 12V DC wiring power cable
Connect the cable to the Gateway, then wire it to your chassis battery or another suitable 12V DC power source.
- Reads chassis battery voltage
Best for: RVs without a lighter port, or a cleaner permanent install.
C. USB power adapter
Connect the USB-C cable to the Gateway and the power adapter, then plug it into a wall outlet.
- No battery voltage reading
Best for: when you’d rather not use the lighter port or run a wire.
Why it matters: Your cigarette lighter port is usually powered by your chassis battery. When the Gateway runs off that battery (option A or B), it also reports the chassis battery’s voltage in the app.
Using the USB power adapter? The Gateway won’t read your battery voltage, but it will send you a notification if your RV loses AC power.
Step 2
Power on the Gateway
- Press the power switch to the IN position to turn the Gateway on. (OUT turns it off.)
- After 20–30 seconds, the Power light turns solid green when external power is connected.
- The cellular connection starts automatically. The Cellular light blinks green while connecting and turns solid green once you’re online.
- Wi-Fi is optional. You can set it up any time after installation (see Step 6).
What the Gateway lights mean
| Indicator | Light | Meaning |
|---|---|---|
| Power | Solid green | Running on external power. |
| Power | Blinking green | Running on the internal battery. |
| Power | Blinking yellow | Battery low. |
| Power | Blinking red | Battery critically low. Connect external power immediately. |
| Wi-Fi | Solid green | Wi-Fi connected. |
| Wi-Fi | Blinking green | Connecting to Wi-Fi. |
| Cellular | Solid green | Cellular connected. |
| Cellular | Blinking green | Connecting to the cellular network. |
| Cellular | Solid red | Cellular connection error. |
Step 3
Install the app & create your account
Download the SmartHub Sensors app from the App Store (iOS) or Google Play (Android).
- Open the app and tap Create Account.
- Check your email and select the Activate Account link.
- Log in with your email and password.
- Follow the guided setup: Setup Account → Get Started → Next. Choose your RV class, then name your RV.
- Choose a subscription plan and subscribe with PayPal or a credit/debit card. Once you’ve subscribed, you can add your Gateway.
Step 4
Add your Gateway
- Tap Get Started → Scan QR Code, or enter the Gateway identifier manually.
- The Gateway is added to your account.
- When prompted, choose Add Sensors to keep going, or Save & Add Later.
Step 5
Turn on and add your sensors
First, turn on your door contacts and temperature & humidity sensors. Press and hold the button on each sensor until its light comes on.
Add each sensor in the app
- Go to Menu → Add Sensors. (If you chose Add Sensors right after adding your Gateway, you’ll start here automatically.)
- Scan the QR code on the sensor.
- Review the recommended placement, then tap Install Sensors.
- Follow the instructions, then tap Sensor Placed.
- Tap the RV and select where the sensor is installed.
- Enter the placement details, then tap Next.
- Name the sensor, then tap Next → Finish. The sensor appears on your dashboard.
QR code won’t scan? No problem. You can type in the sensor’s serial number manually instead.
Where each sensor goes
Battery monitor
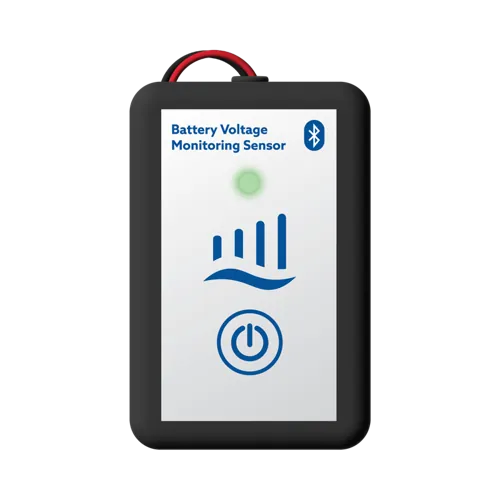
The Gateway reads your chassis battery (see Step 1). The battery monitor reads your house battery.
- Connect it to your house battery with the stainless steel nuts provided.
- Stick it in place near the battery with the double-sided tape on the back.
The app will show two voltages: house battery and chassis battery.

Door contact
Two pieces that alert you when a door opens or closes.
- Mount one piece on the door frame.
- Mount the other on the door, lined up with the first when the door is closed.
- Use the double-sided tape, or a screw for a more permanent hold.
It’s a wide-gap contact, so it still works when the pieces sit a little farther apart.
Temperature & humidity
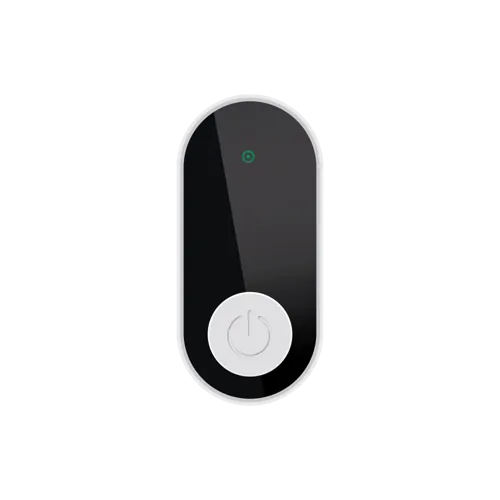
Set it inside any hatch or compartment you want to keep an eye on. The app shows the temperature and humidity in that spot.
Tip from our founder: Keep one in your wet bay, especially in winter, so you know right away if things are getting close to freezing.
Step 6
Connect the Gateway to Wi-Fi (optional)
Before you start: The Gateway only works with 2.4 GHz Wi-Fi, not 5 GHz. Have your network name and Wi-Fi password ready.
Enter Wi-Fi setup mode
- With the Gateway on, press and hold the Wi-Fi button for 5–7 seconds, then let go.
- In the app, go to Menu → Manage Devices.
- On the Gateway card at the top, tap the pencil icon next to the Wi-Fi entry.
- Turn Wi-Fi on if it isn’t already, then tap Connect WiFi. The QR code scanner opens.
Option 1: Scan the Wi-Fi QR code
- Scan the QR code labeled WiFi on the underside of the Gateway.
- Select your 2.4 GHz network from the list.
- Enter your Wi-Fi password and tap Connect.
- Wait for the app to confirm. The Wi-Fi light turns solid green when you’re connected.
Option 2: No QR code
- On the scanner screen, tap I don’t have a QR code.
- Select your Gateway from the devices shown.
- When asked for the Gateway provisioning password, enter BLE-Gateway (capital letters and hyphen included), then tap Next.
- Select your 2.4 GHz network, enter your Wi-Fi password and tap Connect.
- Wait for the app to confirm. The Wi-Fi light turns solid green when you’re connected.
Two different passwords: BLE-Gateway is the Gateway’s provisioning password. Your Wi-Fi password is the one for your own network.
Troubleshooting
| Issue | What to check |
|---|---|
| Gateway doesn’t power on | Check the power source and cable connections, and make sure the power switch is in the IN (on) position. |
| Power light blinks green | The Gateway is running on its internal battery. Check external power if you didn’t expect this. |
| Power light blinks yellow or red | Connect external power. Red means the battery is critically low. |
| Wi-Fi network doesn’t appear | Make sure your network supports 2.4 GHz, and move the Gateway closer to the router. |
| Wi-Fi connection fails | Check your Wi-Fi password, then start over by holding the Wi-Fi button for 5–7 seconds and letting go. |
| Gateway doesn’t appear during Wi-Fi setup | Keep your phone near the Gateway, make sure Wi-Fi setup mode is active, and allow Bluetooth access if the app asks. |
| Cellular light stays red | Try a location with better cell reception. Contact support if the error continues. |
| Sensor is missing or not updating | Make sure the sensor is turned on (hold the button until the light comes on), confirm it was added in the app, and test it closer to the Gateway. |
Need a hand?
Check our FAQs, or contact our support team. Have your Gateway identifier, the sensor type (if it’s a sensor issue) and what the Gateway lights are doing ready. Never share your Wi-Fi password.